
DIY Siding Installation Challenges and Considerations
DIY siding installation is a challenging yet rewarding project for homeowners. The process requires careful planning and execution, from setting up scaffolding to measuring precise lengths and navigating eaves. Additionally, protecting the lawn while working with vinyl siding adds complexity. This article explores the challenges and considerations of DIY siding installation, offering valuable insights to help you decide if this project is right for you.
Key Takeaways
- DIY siding installation requires careful planning, skill assessment, and proper tool selection
- Weather conditions significantly impact siding installation, with spring and fall being optimal seasons
- Misaligned panels, inadequate sealing, and ignoring manufacturer guidelines are common DIY installation pitfalls
- Thorough home preparation and structural repairs are essential before beginning siding installation
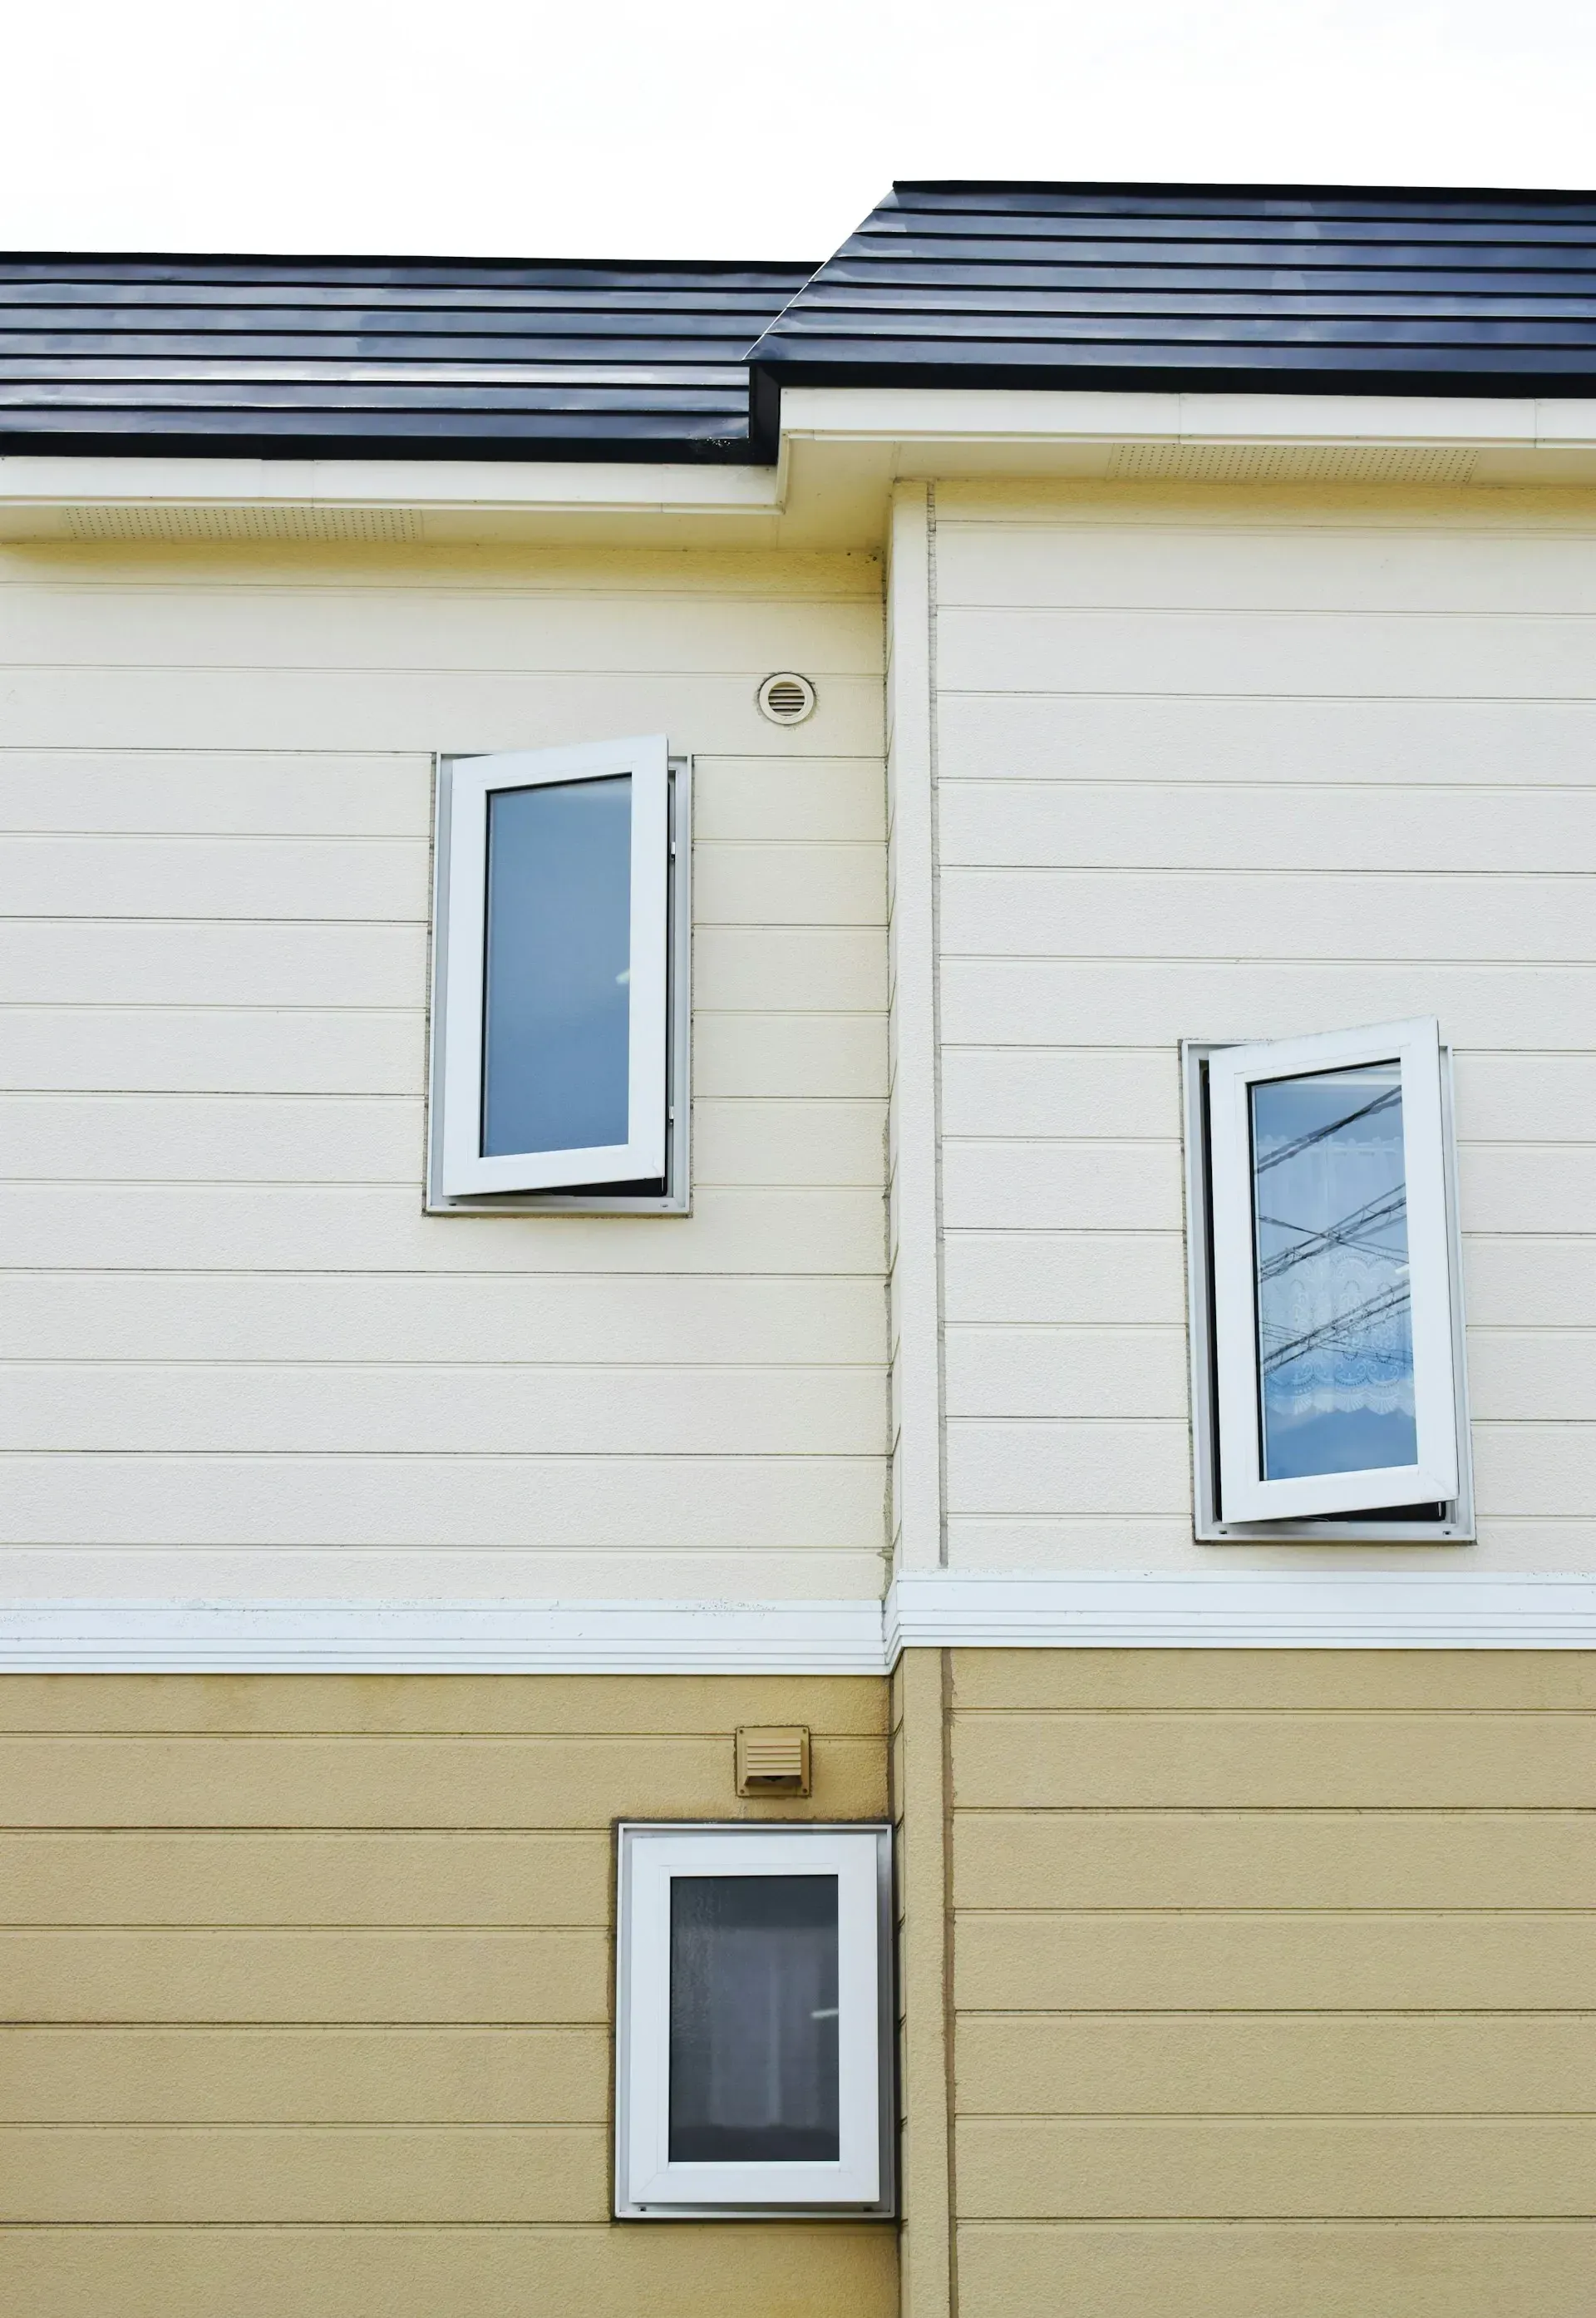
- Proper ventilation and precise fitting around windows and corners are crucial for successful siding installation
Understanding the Complexity of DIY Siding Installation
Tackling a DIY siding installation requires careful consideration of various factors. Homeowners must evaluate their options and skills thoroughly, from choosing between vinyl siding panels and other materials to mastering the use of a chalk line. The process involves more than just attaching panels; it extends from the roof to the deck, demanding meticulous planning and significant time investment. Understanding the complexities of siding installation is crucial for those contemplating this ambitious home improvement project.
Evaluating Siding Options for Your Home
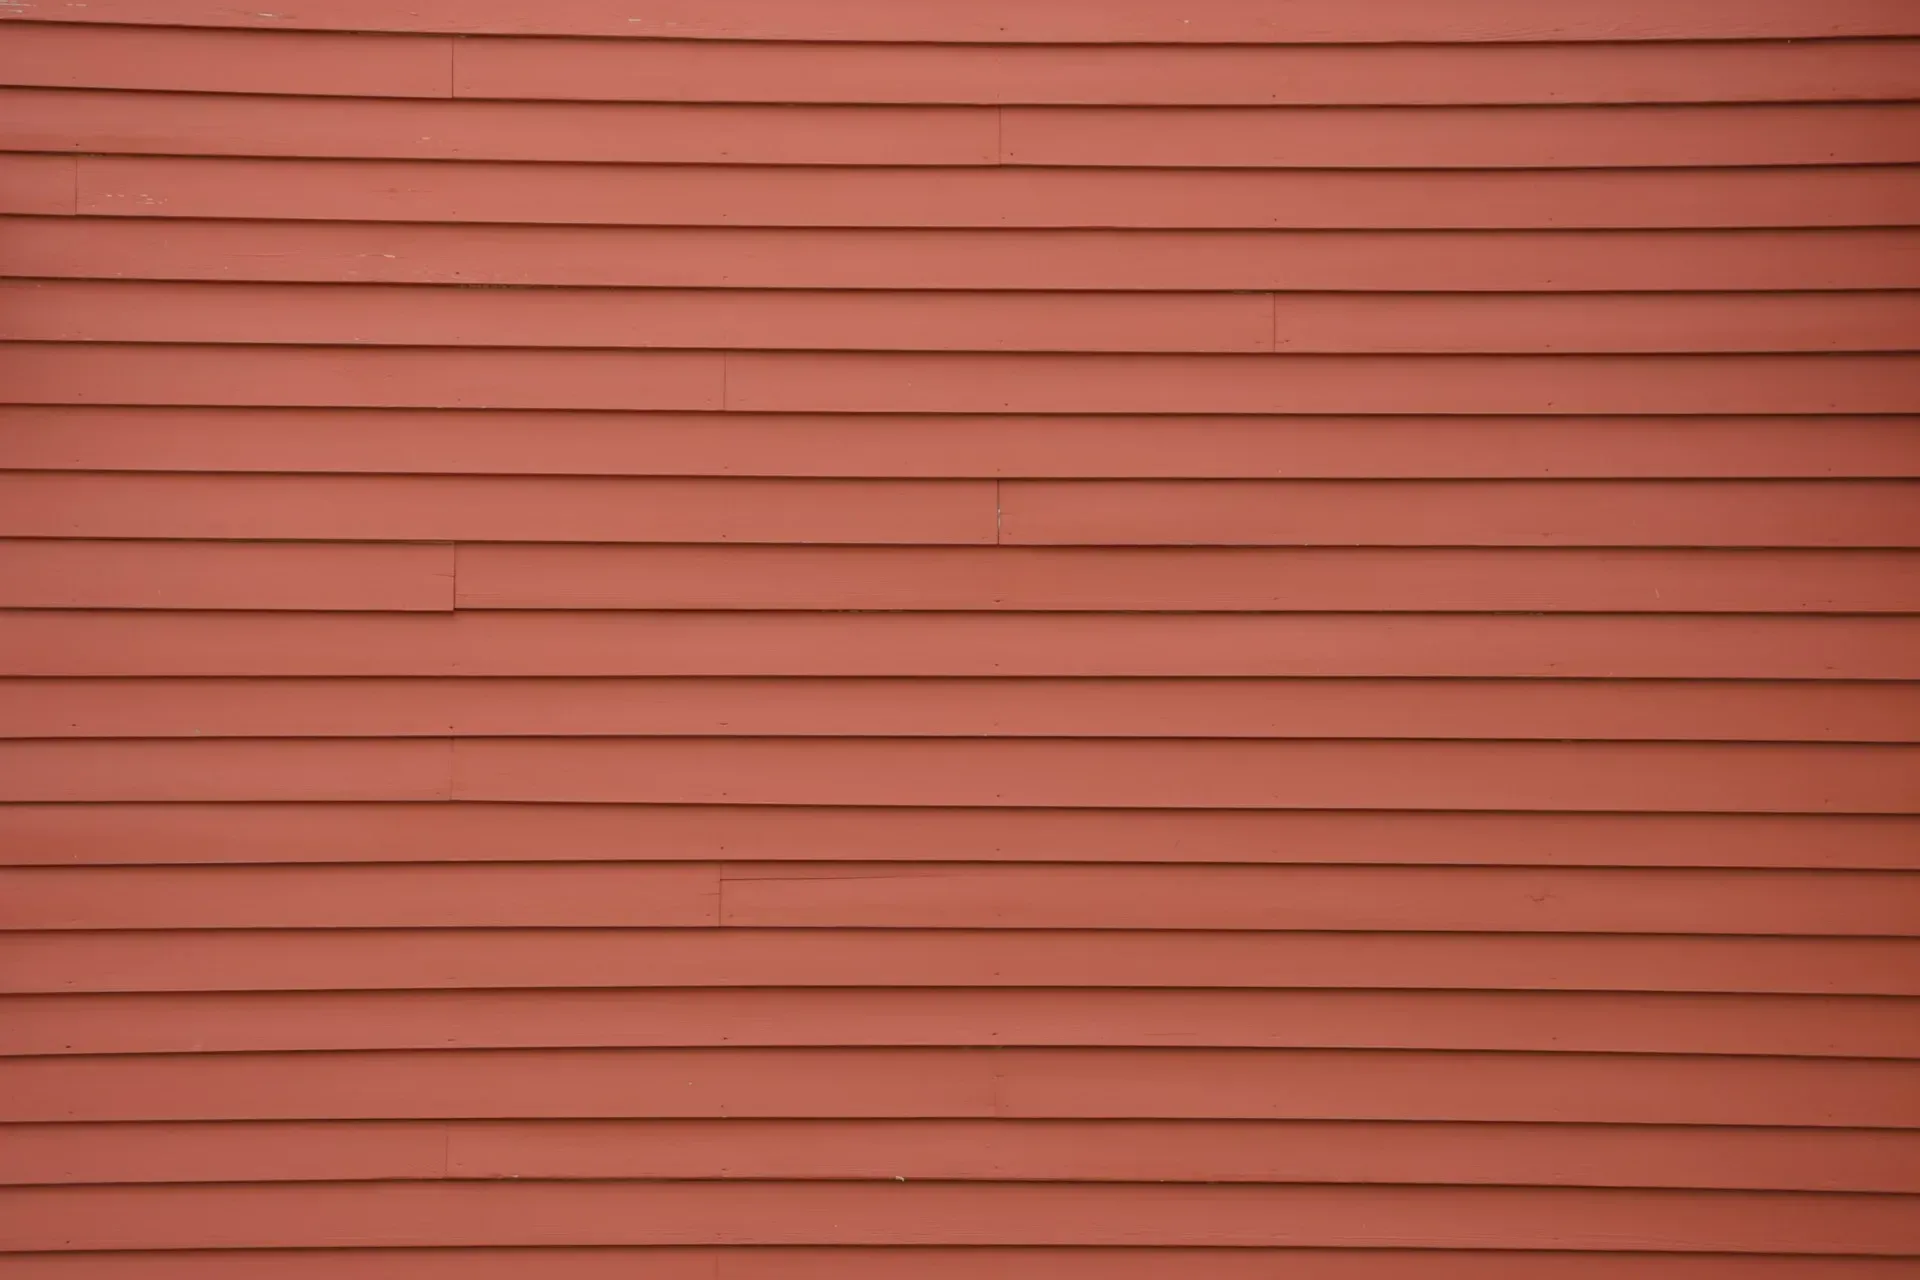
Homeowners considering a DIY siding installation must carefully evaluate their options before starting. The choice of siding material impacts both aesthetics and installation difficulty, with vinyl siding being popular among DIY enthusiasts. Factors to consider include durability, cost, ease of installation, and compatibility with existing windows and exterior features. A thorough assessment of these elements will help determine if a DIY approach is feasible or if professional installation is the better choice:
- Vinyl: Medium durability, low cost, moderate DIY difficulty.
- Fiber Cement: High durability, medium cost, high DIY difficulty.
- Wood: Medium durability, high cost, high DIY difficulty.
Assessing Your DIY Skill Level
Homeowners considering DIY siding installation must honestly evaluate their skill level and experience with home improvement projects. Proper installation requires familiarity with tools such as a miter saw for precise cuts and a punch for creating nail holes. Additionally, skills in working with wood, managing gutters, and understanding proper installation techniques are crucial. Realistically assessing one’s abilities helps determine whether the project is feasible or needs professional help. Key considerations include experience with similar projects, comfort with necessary tools, physical demands of the job, ability to follow instructions and building codes, and the available time to complete the project thoroughly.
The Importance of Thorough Planning
Thorough planning is the cornerstone of a successful DIY siding installation project. A well-crafted plan should consider every aspect, from integration with roof shingles to protecting existing structures. Homeowners must account for potential challenges, such as uneven surfaces or unexpected structural issues, that even experienced handymen might face. Careful planning also ensures compliance with local building codes and preserves any existing warranties on the home’s exterior components.
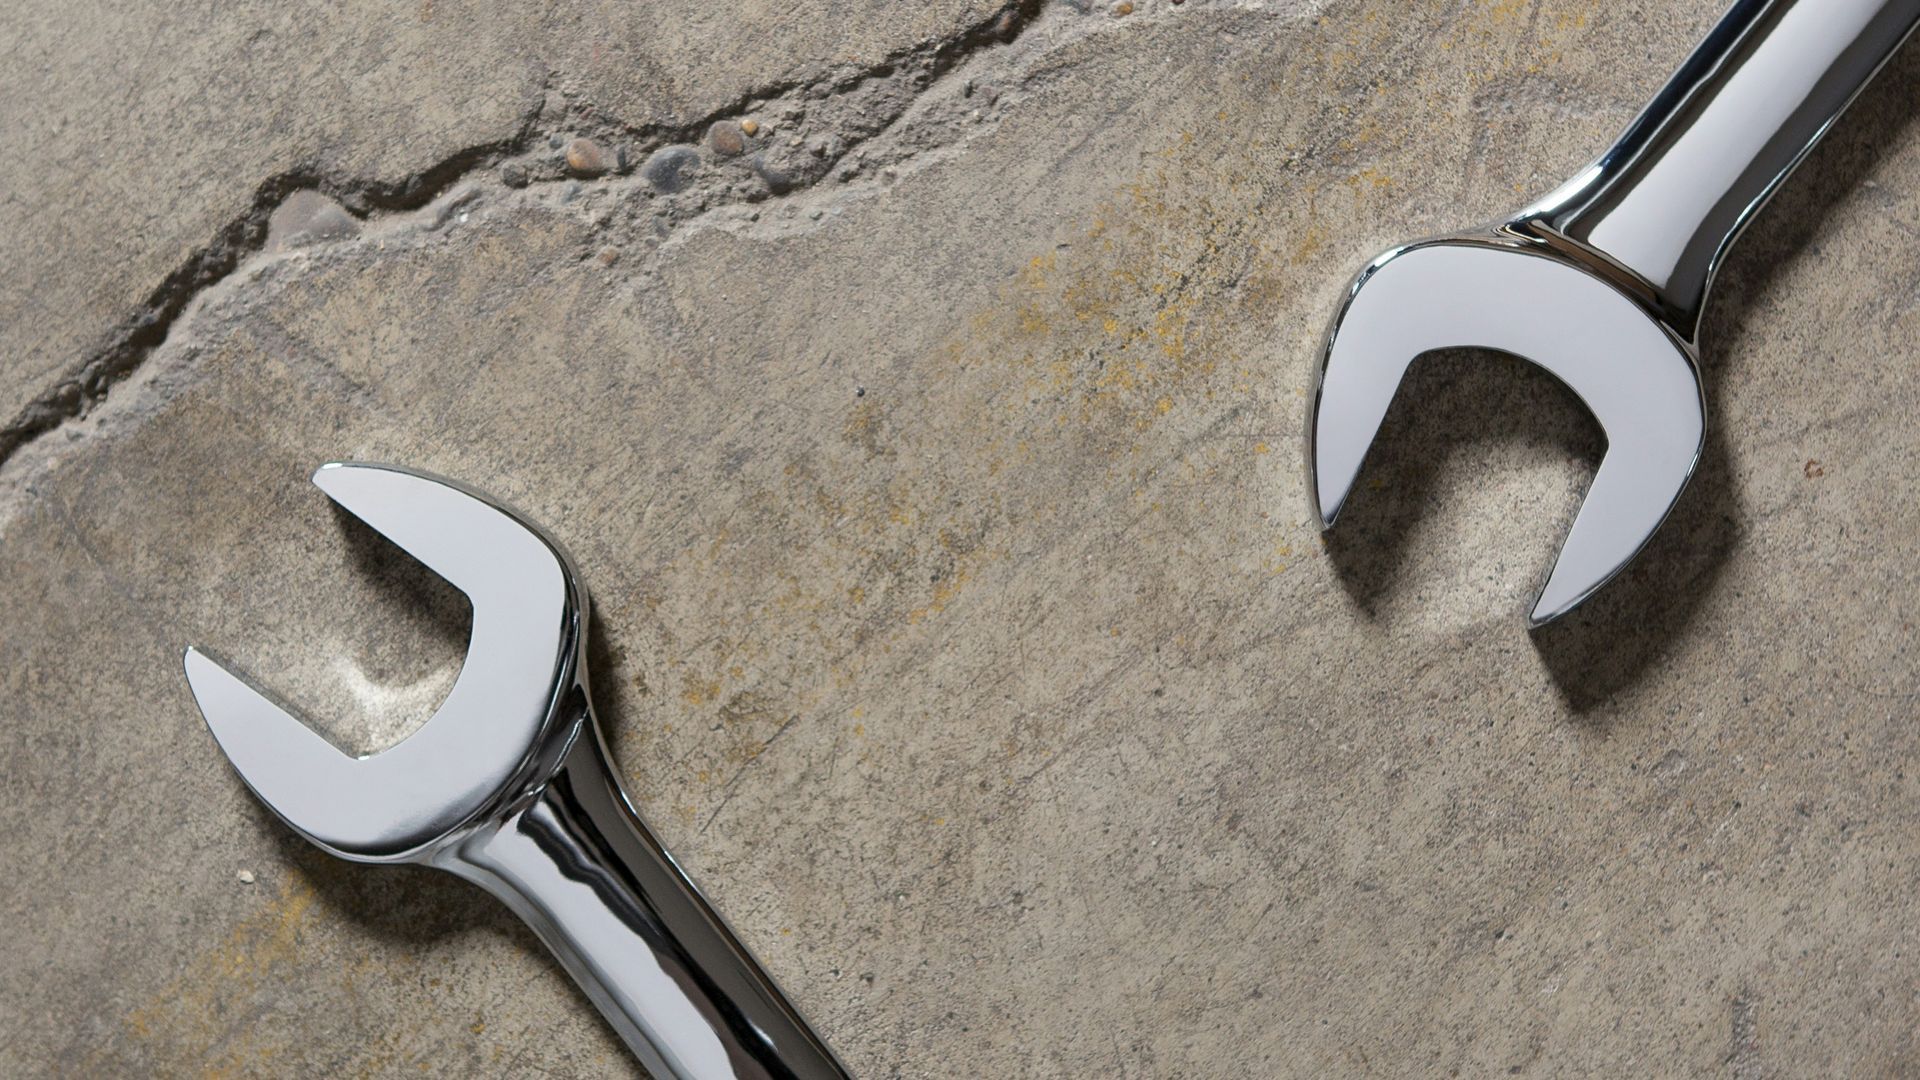
Essential Tools and Safety Gear for Siding Installation
Proper tools and safety equipment are crucial for a successful DIY siding installation. Homeowners need a comprehensive toolkit, including basic carpentry tools and specialized siding instruments, to effectively tackle this project. Safety gear is equally important to protect against potential hazards when working on doors, windows, and other exterior elements. Understanding how to use tools correctly, such as crimping aluminum trim or securing panels, can prevent costly mistakes and ensure a professional-looking finish. By prioritizing both tool selection and safety measures, DIY enthusiasts can approach their siding project with confidence and security.
Listing the Must-Have Tools
A successful DIY vinyl siding installation requires a well-stocked toolbox to handle challenges from the roofline to the foundation. Essential tools include tin snips for cutting panels, a utility knife for trimming, and a level to ensure straight lines. Homeowners should also invest in a siding removal tool, pneumatic nailer, and chalk line to facilitate precise installation and prevent issues like corrosion or mold growth. Additionally, keeping a current siding installation magazine on hand can provide valuable tips and techniques for achieving a professional-looking finish.
Choosing the Right Safety Equipment
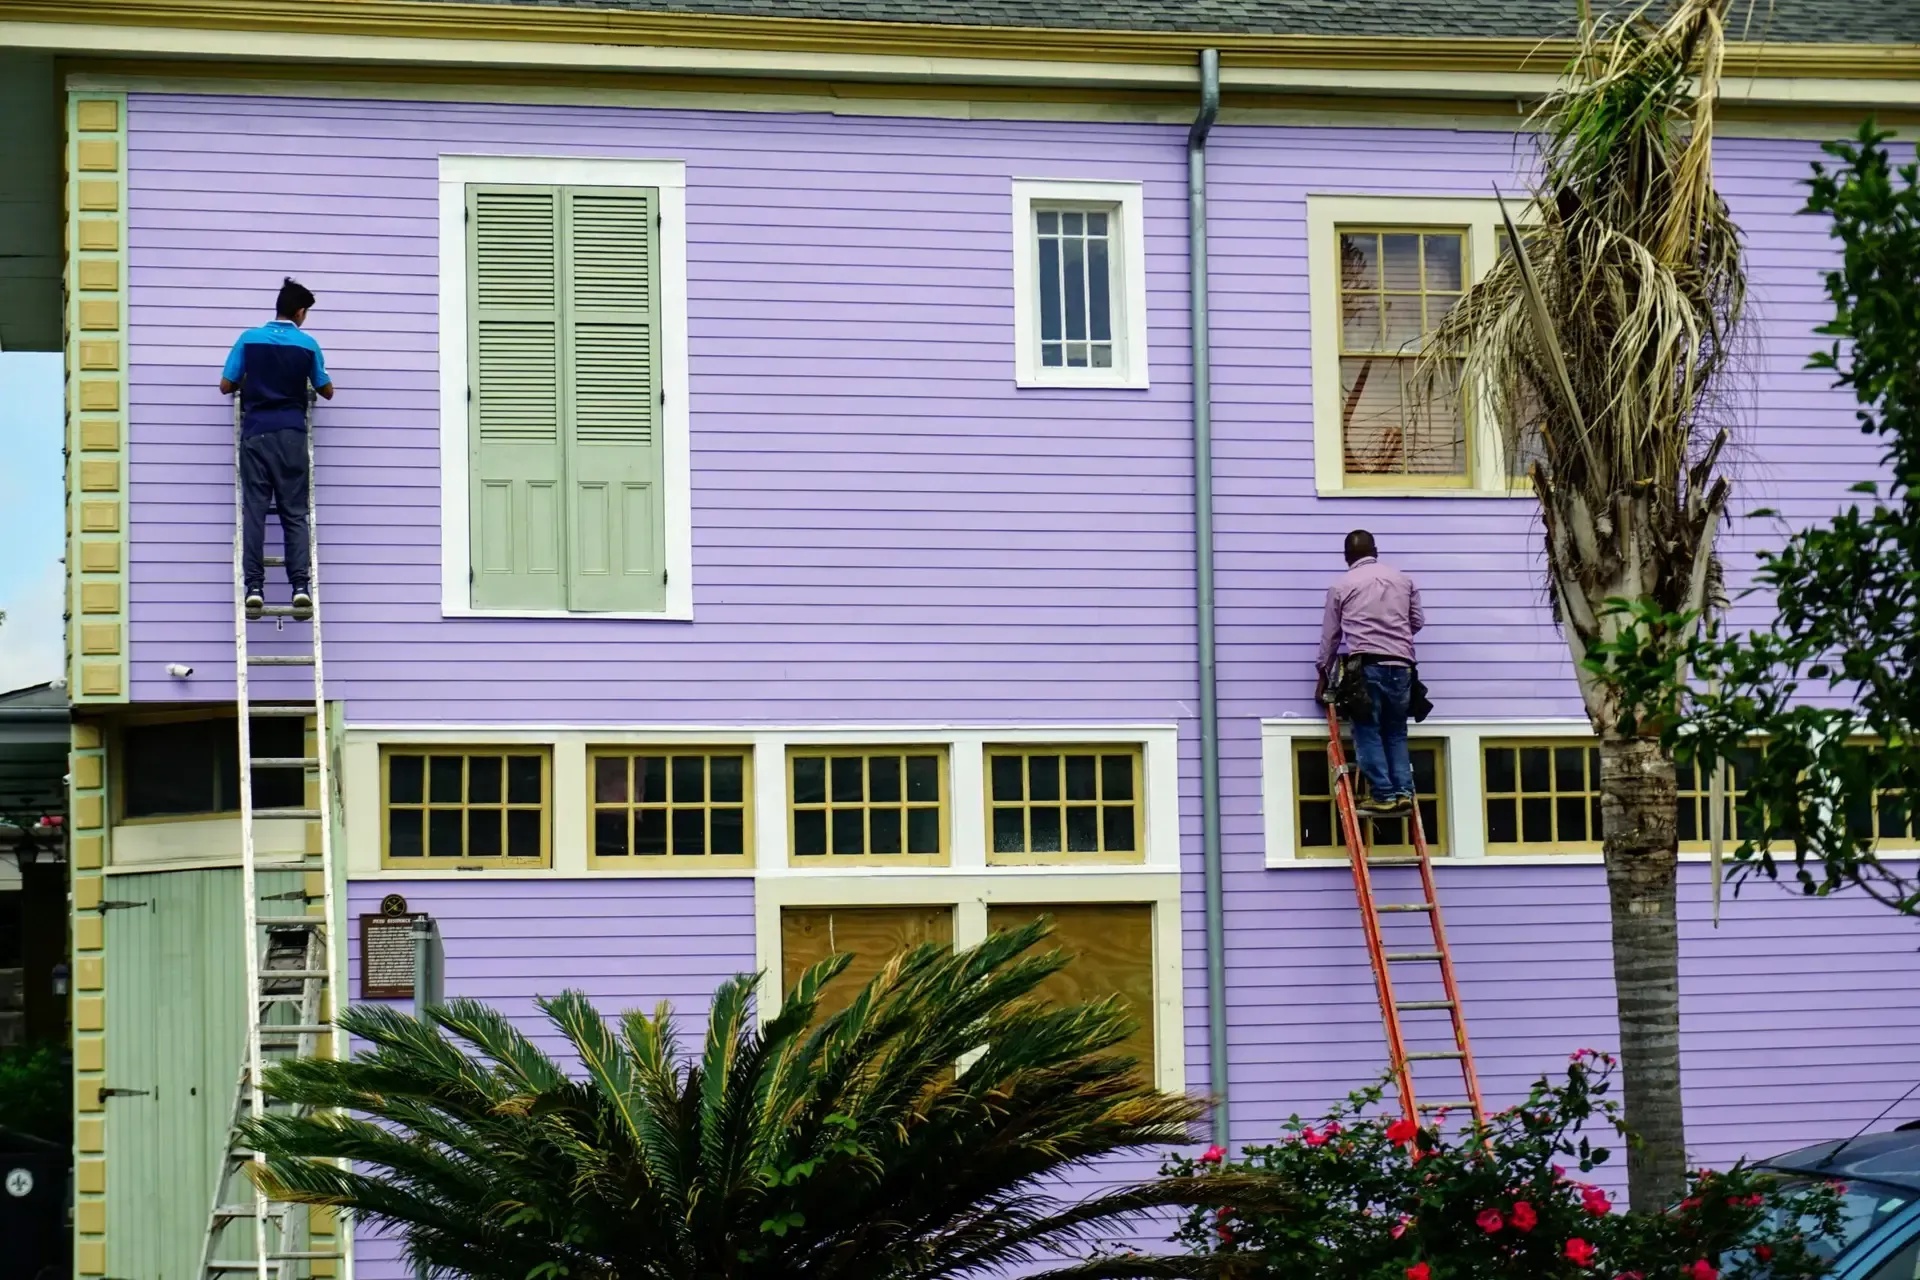
Selecting appropriate safety equipment is crucial for DIY siding installation, especially when working at heights. Essential items include a sturdy ladder, non-slip footwear, and safety harnesses for securely handling siding pieces on upper levels. Protective eyewear, gloves, and a dust mask shield against debris during cutting and pressure washing, while a hard hat protects against falling objects. These safety items, readily available at most hardware stores, ensure a safer working environment from ground level to the roof’s edge.
Avoiding Common Tool Misuse
Proper tool use prevents accidents and ensures a quality siding installation. Homeowners should avoid using tools beyond their intended purpose, such as using a hammer on masonry or a utility knife to cut thick materials. Wearing a tool apron keeps essential items within reach, reducing the temptation to improvise with inappropriate tools. Paying careful attention to the lip of siding panels when using cutting tools prevents damage and maintains a professional finish.
Preparing Your Home for DIY Siding Installation
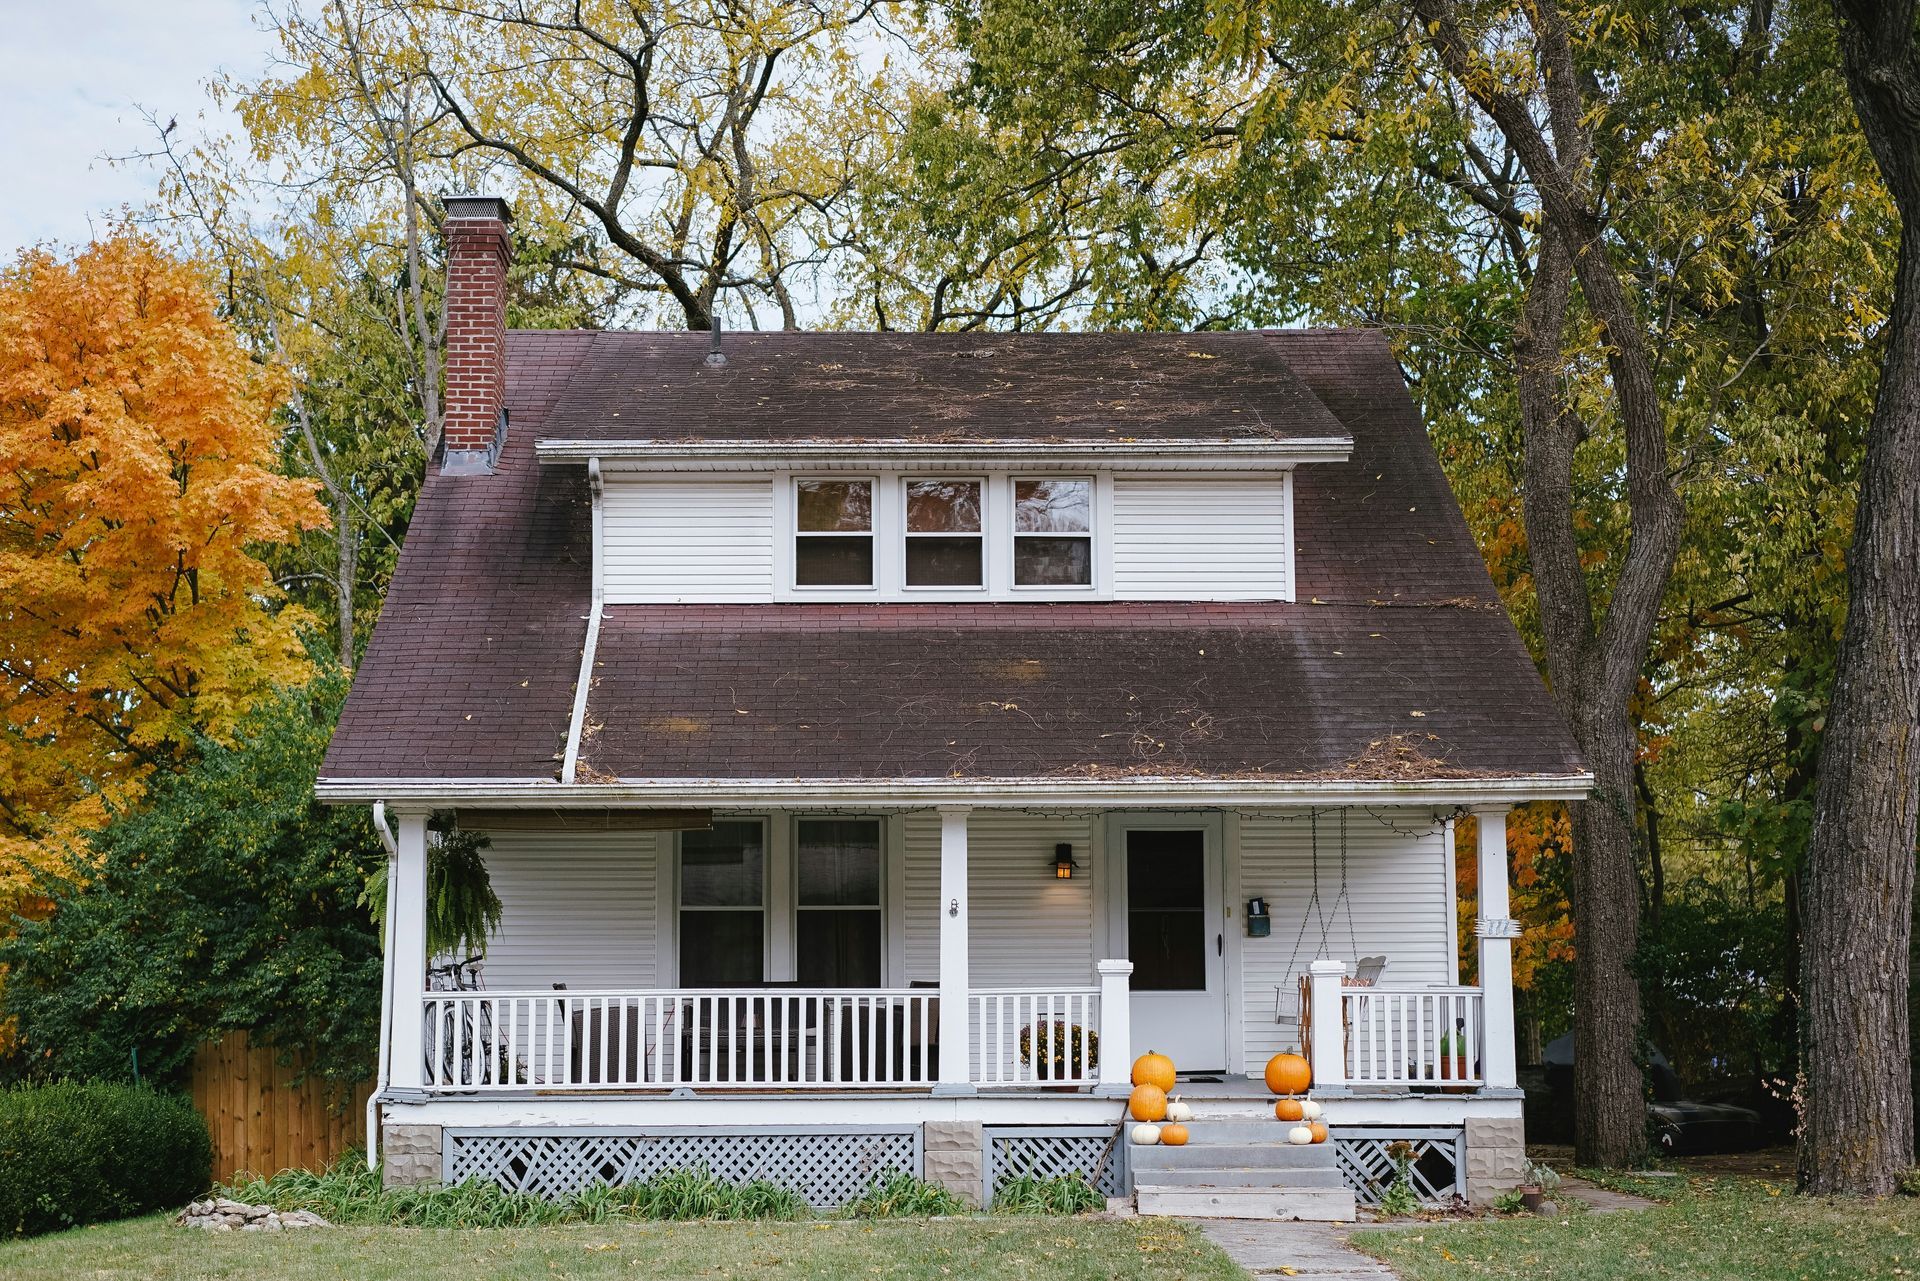
Before starting a DIY siding installation, homeowners must meticulously prepare their homes. This involves a comprehensive exterior inspection, assessing the perimeter and gable ends for potential issues. Safely removing old siding is crucial, requiring basic woodworking skills and careful attention around windows and walls. Addressing any underlying structural problems ensures a solid foundation for the new siding. These preparatory steps set the stage for a successful installation, helping DIY enthusiasts avoid complications and achieve professional-looking results.
Conducting a Home Exterior Inspection
A thorough home exterior inspection is essential for a successful DIY siding installation. Homeowners should use a tape measure to assess the overall dimensions and identify areas prone to mildew or damage. This inspection helps determine the amount of siding needed and highlights potential challenges before installing vinyl siding, preventing costly surprises that might otherwise require professional intervention.
Removing Old Siding Safely
Safely removing old siding is a critical step in DIY siding replacement. Homeowners should inspect the underlying plywood for damage and replace any rotted sections before proceeding. Careful removal prevents structural damage and ensures a smooth surface for new siding. Using proper tools, such as a pry bar and utility knife, helps avoid injury and minimizes the risk of damaging windows or other exterior features. Following proper safety procedures and taking time to do the job right can help DIY enthusiasts successfully complete this task:
- Wear protective gear, including gloves and safety glasses.
- Start from the top and work downwards.
- Remove trim pieces and J-channel carefully.
- Locate and remove all nails or screws securing the old siding.
- Dispose of old siding properly, following local regulations.
Addressing Structural Issues Before Installation
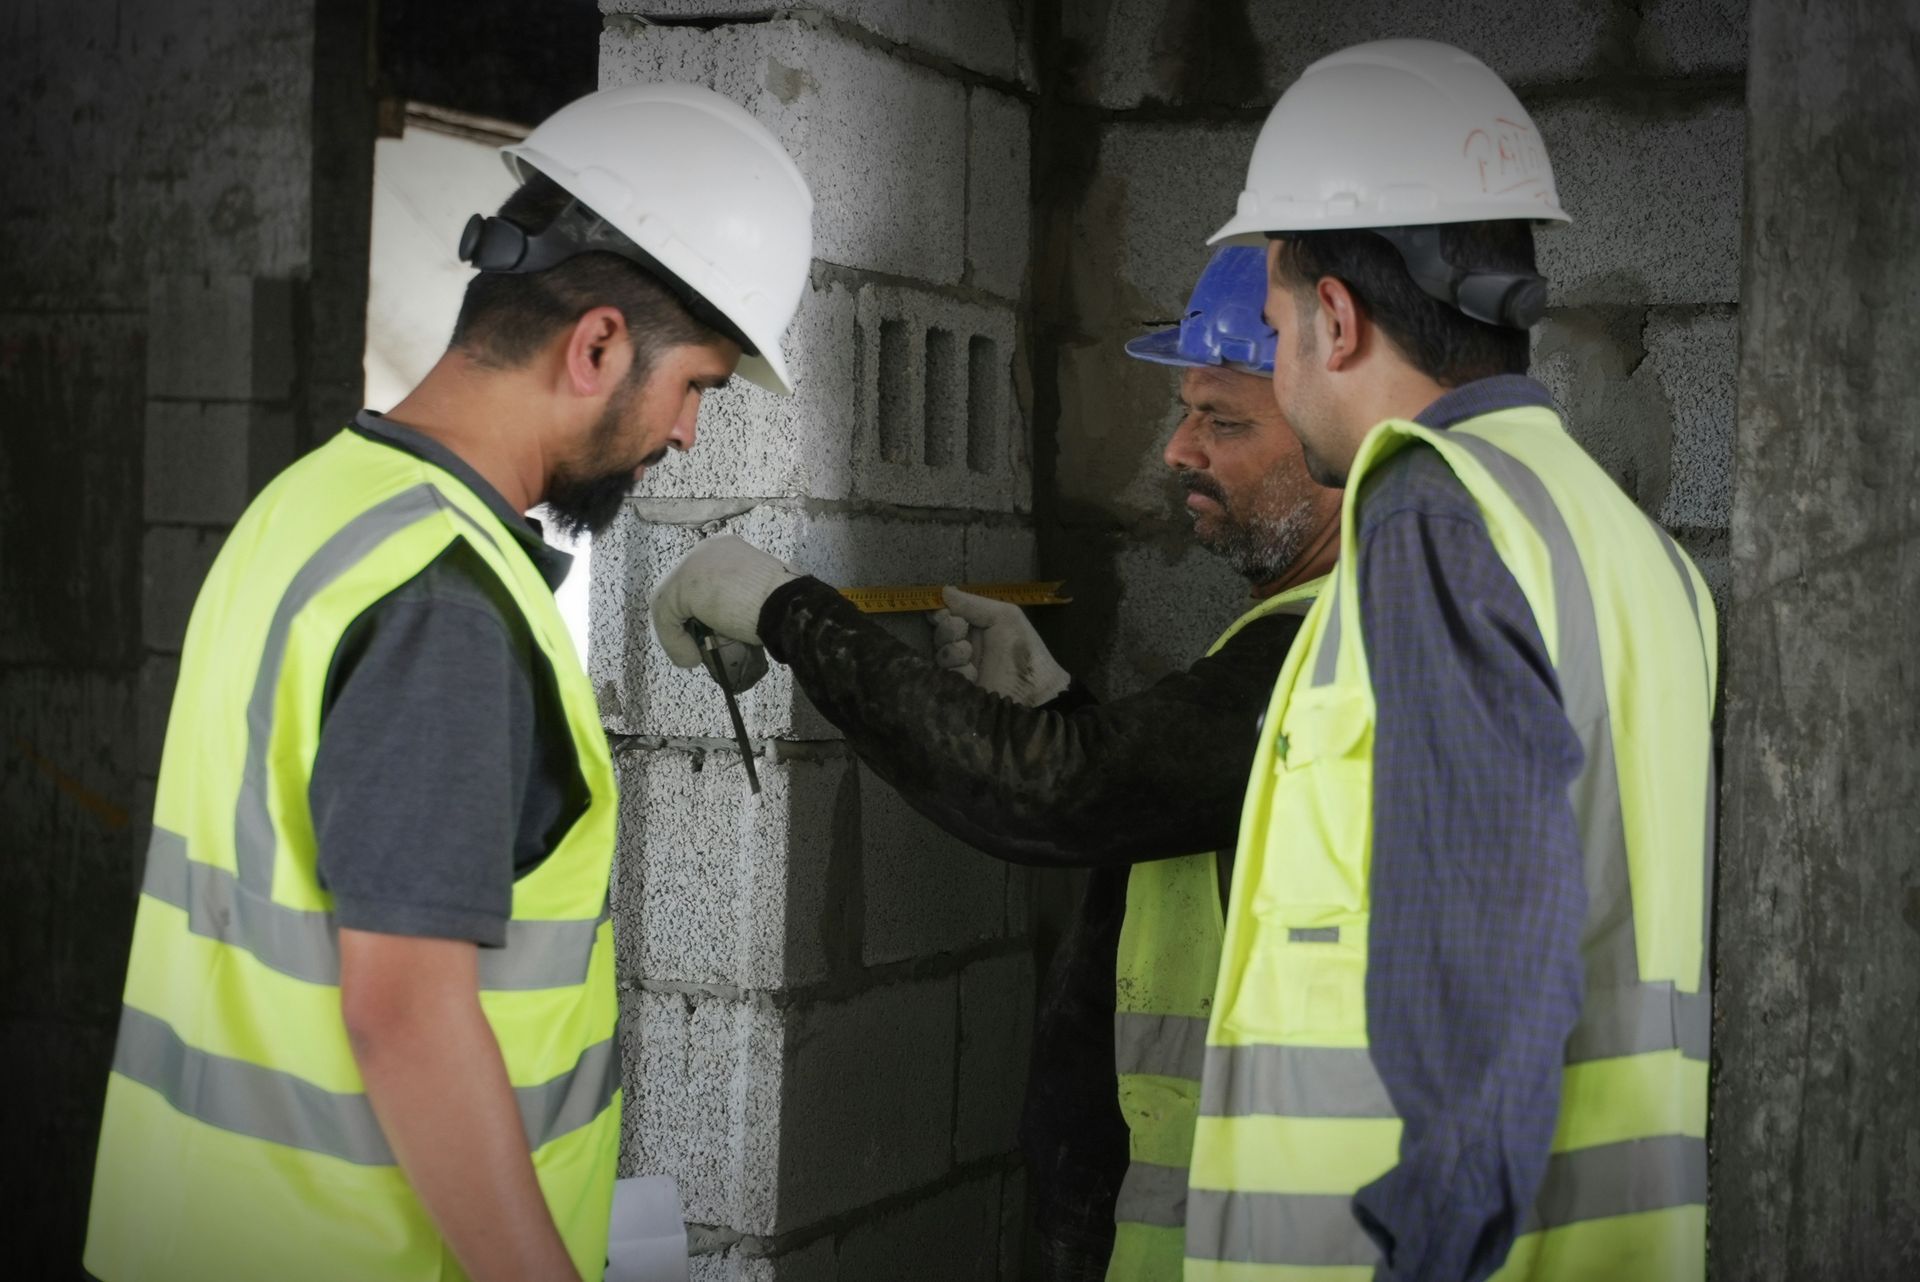
Before installing new siding, homeowners must inspect the exterior for damage, address any structural issues, and ensure plumbing connections and electrical wiring near exterior walls are properly sealed and protected. Using tools like a utility knife and claw hammer, they can remove damaged sections and replace them with new materials. A sturdy ladder is essential for accessing hard-to-reach areas and conducting a thorough inspection from the ground to the roofline. Common issues include replacing rotted wood, sealing water-damaged areas with caulk and waterproof sealant, adding or replacing insulation, and securing loose siding. These steps ensure a durable and stable base for the new siding.
Weather Considerations and Siding Installation

Weather plays a crucial role in the success of DIY siding installation projects. Homeowners must consider seasonal changes, temperature fluctuations, and potential weather-related damage to materials when planning their projects. Understanding the best times to install siding, protecting materials from weather exposure, and adapting installation techniques to different temperatures is essential for achieving optimal results. By taking these factors into account, DIY enthusiasts can minimize complications and ensure a durable, long-lasting siding installation that withstands various weather conditions.
Best Seasons for Siding Installation
Spring and fall are the optimal seasons for DIY siding installation projects. These moderate seasons offer ideal temperature ranges for working with vinyl siding, reducing the risk of material warping or brittleness. Mild weather conditions also provide a more comfortable work environment for homeowners, allowing for longer workdays and potentially faster project completion.
Protecting Materials From Weather Damage
Protecting siding materials from weather damage is crucial for DIY installers. Storing vinyl panels in a dry, covered area prevents warping and discoloration before installation. Homeowners should use tarps or plastic sheeting to shield partially installed sections from rain or snow, ensuring the project’s integrity throughout the process. Key steps include storing materials properly, using protective coverings, installing flashing and weather barriers, promptly applying sealants and caulk around openings, and monitoring weather forecasts to plan work accordingly.
Common Mistakes to Avoid in DIY Siding Installation
DIY siding installation projects often face pitfalls that can compromise the integrity and appearance of the finished product. Homeowners tackling this ambitious task must be aware of common errors, such as misaligning panels and creating irregular patterns, which detract from the home’s aesthetic appeal. Inadequate sealing and waterproofing can lead to moisture problems and potential structural damage over time. Additionally, ignoring the manufacturer’s installation guidelines may void warranties and result in subpar siding performance. By understanding these potential missteps, DIY enthusiasts can take proactive measures to ensure a successful and durable siding installation.
Misaligned Panels and Irregular Patterns
Misaligned panels and irregular patterns in DIY siding projects often result from improper measurement and installation techniques. Homeowners may struggle to maintain consistent spacing between panels, leading to uneven lines and gaps that detract from the overall appearance. Failing to use a level or chalk line can cause panels to slope or curve, creating an unsightly finish that may require extensive rework to correct.
Inadequate Sealing and Waterproofing
Inadequate sealing and waterproofing pose significant risks in DIY siding installation projects. Homeowners often overlook crucial areas around windows, doors, and joints, leaving vulnerable points for water infiltration. This oversight can lead to moisture damage, mold growth, and potential structural issues over time. Proper application of flashing, caulk, and weather-resistant barriers is essential for preventing these problems. Key areas include using flashing tape and caulk around windows and doors, ensuring proper overlap and nailing at panel joints for a watertight seal, applying sealant around trim areas, and installing a moisture barrier at the foundation to protect against ground moisture.
Ignoring Manufacturer’s Installation Guidelines
Ignoring the manufacturer’s installation guidelines can lead to serious issues in DIY siding projects. Homeowners who disregard these instructions risk improper installation, which may void warranties and compromise the siding’s performance. Following the manufacturer’s specifications ensures proper nailing techniques, panel overlap, and expansion allowances, all of which are crucial for the longevity and effectiveness of the siding system.
Conclusion
DIY siding installation challenges homeowners with complex tasks, from selecting appropriate materials to mastering intricate installation techniques. Proper planning, tool selection, and safety precautions are essential for a successful project, and addressing structural issues and weather considerations ensures long-term durability. Overcoming installation hurdles, such as fitting panels around windows and ensuring proper ventilation, demands skill and attention to detail. By avoiding common mistakes and adhering to manufacturer guidelines, DIY enthusiasts can achieve a professional-looking exterior that enhances their home’s appearance and functionality.
Recent Posts


Share On: